
How to Use Movavi Video Editor as iMovie Alternative
Easy Steps to Make Movies from Video, Photo, and Music
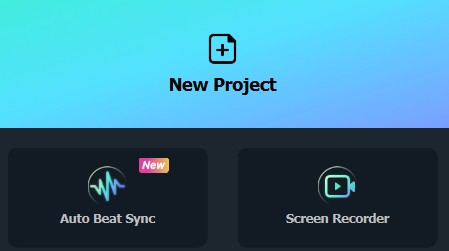
Step 1: Run Movavi for PC and Import Files
- There are 2 mode in Movavi Video Editor: Timeline and Storyboard. Timeline works with all photos, videos and titles, while Storyboard with video and photos. To import media files, click the Import Media button on the Import pane and select the files you want to use in your slideshow: photos and music files. You will find all the files you’ve added on the Media tab. And then drag and drop them to the Storyboard or Timeline.
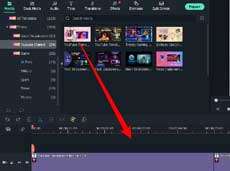
Step 2: Customize Your Movie
- Arrange your photos on the storyboard, add transitions, add music files or record your own voice, and do more to make your video or slideshow personalized.
- Directly drag and drop or arrange clips. To apply transitions, use the random transitions option, use, one type of transition for all slides or you can do it totally manually - add a different transition for each slide.
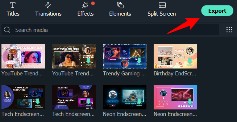
Step 3: Preview & Share Your Movies.
- Good for you! Now you're able to export your movie to share with others. You can directly upload your video to your YouTube account without leaving the program, or the classic way - burn to DVD for watching on your home player. If you want to play on your mobile device, just choose from iPad, iPhone, Android and other device profiles. All starts from clicking the Export button to the bottom right corner.
How to Uninstall The Software
To uninstall Movavi Video Editor for Windows, do the following.
- 1. Click Start > All programs.
- 2. In the list of programs, locate Movavi folder and find what you want to remove and click its name.
- 3. Click the Uninstall
option. - 3. In the window that appears, click the Uninstall button.
- 4. The program will be removed from your computer.

iMovie for Windows | Download | Privacy Policy | Contact Us | iMovie Blog | Store |
Copyright ©
iMovie For Windows Dot Com. All rights reserved.
This site is not authorized by, affiliated, or otherwise associated with Apple Inc. who is the developer and trademark owner of IMOVIE.
Browser compatibility : IE/Firefox/Chrome/Opera/Safari/Maxthon/Netscape